Even though it's been around for quite some time now, we still see clients every day that aren't taking advantage of Microsoft OneDrive. From it's integration with Microsoft 365 to the ability to manage permissions and share files with anyone in the world, it's a pretty powerful tool if utilized correctly!
p.s. Note that the article below only contains the highlights of the video recording. If you want the FULL tutorial, be sure and watch the video to get the most value from our Ntiva product expert, Ted Brown!
Don't want to read the article? Watch the full recording below.
Be sure to register here for the "Ntiva Lunch and Learn" webinar series!
OneDrive in the Cloud
OneDrive "lives" in the Office 365 cloud. This means your data is always accessible from anywhere in the world simply by going to portal.office.com.
Inside of the 365 portal, you can access OneDrive by clicking the 9 dots on the left and selecting OneDrive. Don't forget, you can also access all the other Office software you need through the portal as well!
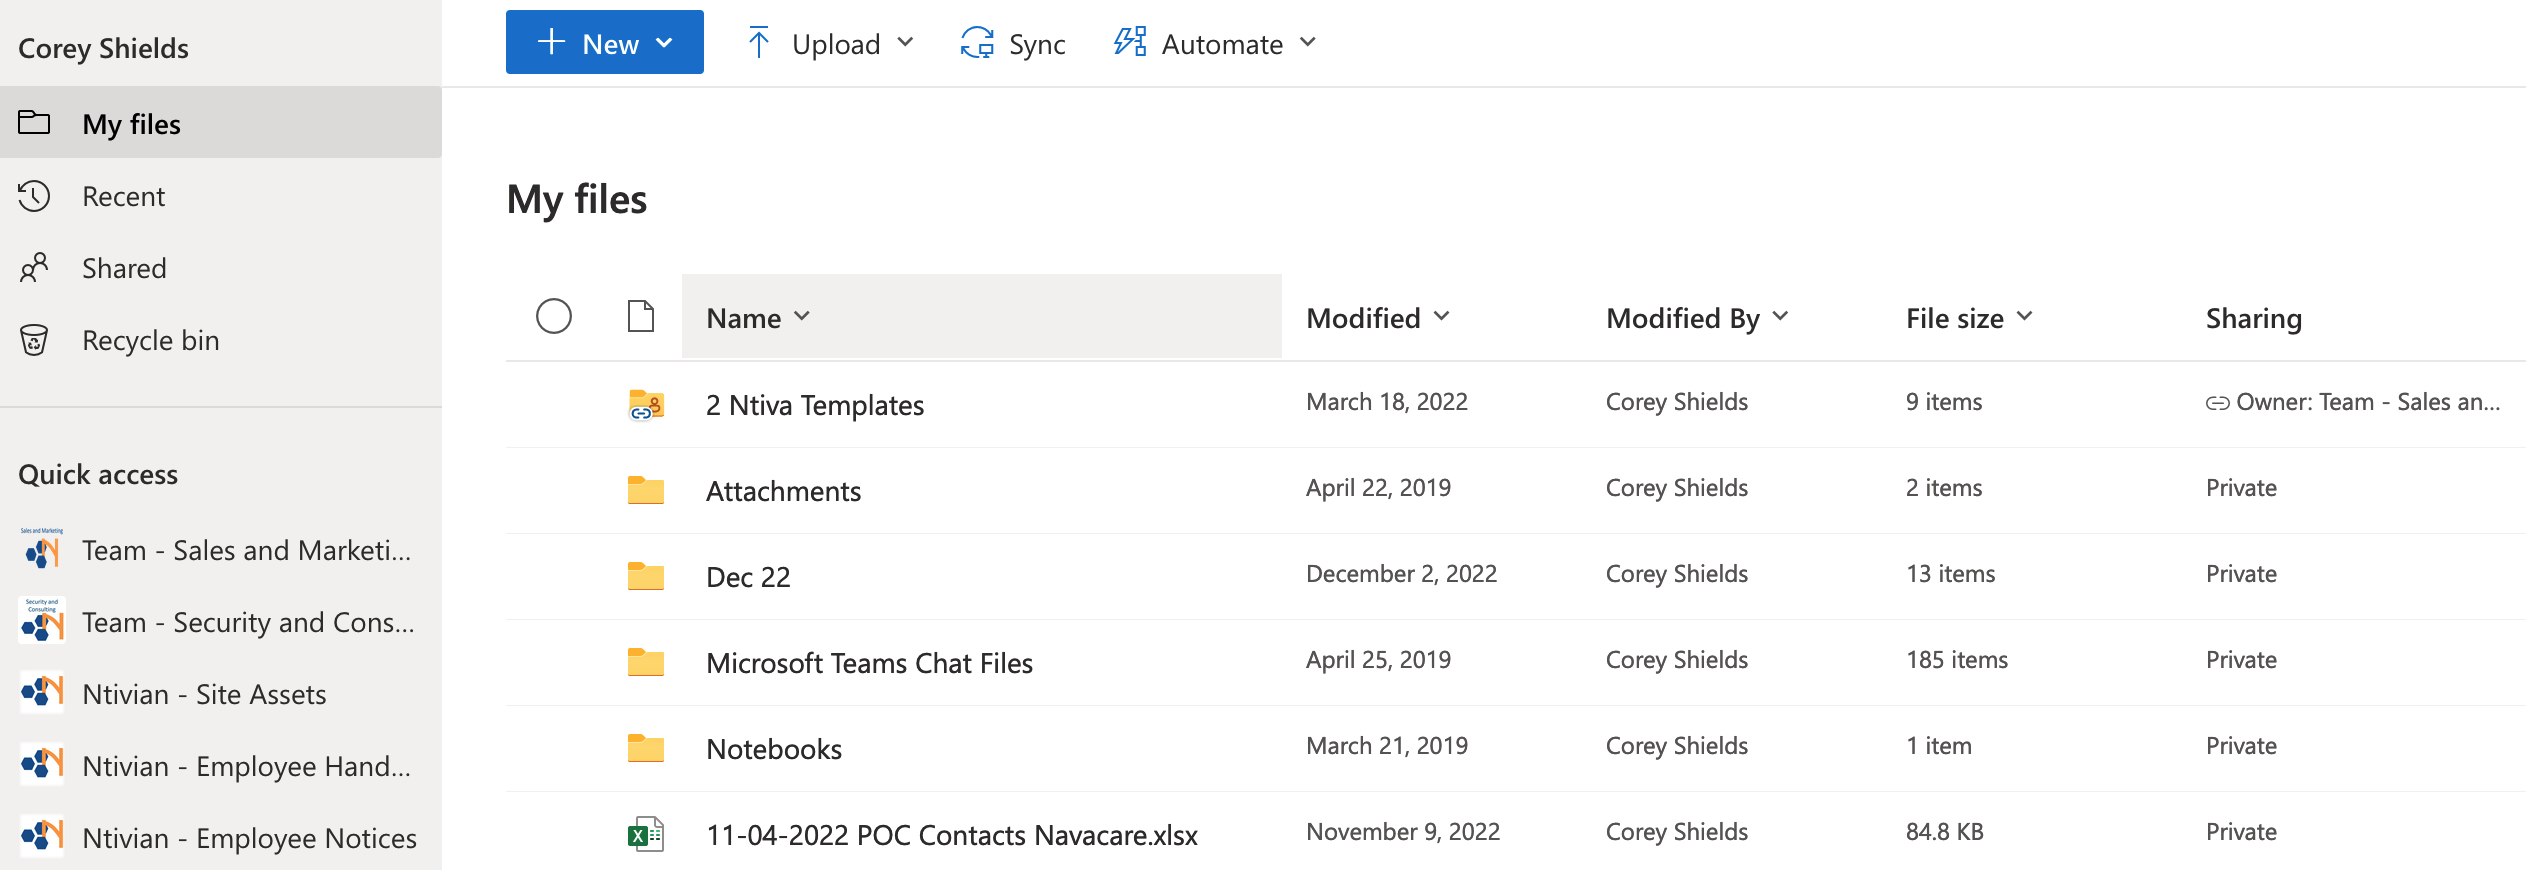
You'll be greeted by your personal OneDrive location when you first login. This is a group of files and folders that you have created or have permission to access. At it's core, this is really just a SharePoint page that's dedicated to the individual accessing OneDrive.
Default permissions are given only to the owner, marked "Private," but you do have access to share files and folders with people inside and outside of your organization.
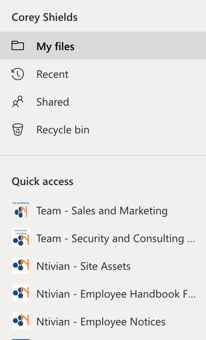
You'll notice a panel on the left side making different common locations easily accessible, including My Files, Recent, Shared, and Recycle Bin.
Beneath that is a fully customizable sectioned called Quick Access, which you can use to access folders and other SharePoint locations that you've been given access to.
Don't overlook the "Search" function as well in OneDrive. It's incredibly powerful, giving you the opportunity to look for files that aren't just in your files, but anywhere that you have access to!
Managing Permissions in the OneDrive Cloud
Say you've given someone permission to access one of your files or folders, but the project you were collaborating on is finished. If this happens, you can simply click the three dots next to the file, choose "Manage Access," then, "Stop Sharing."
This immediately revokes access, and even if the user still has a link to the file or folder, the permissions are updated to deny access.
I highly recommend going through your Shared files occasionally and updating permissions as needed. It's a small amount of effort and it keeps your hierarchy of data clean!
New, Upload, Sync, and Automate
There are four generic options at the top of your OneDrive portal.
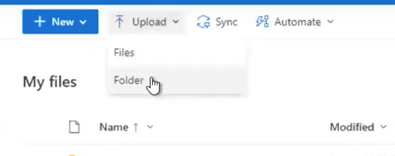
New - Allows you to create a new folder or start a new document in any of the 365 Office software, including Excel, Word, and PowerPoint, right from your browser.
Upload - This button enables you to upload local files or folders from your machine into the OneDrive cloud so you can access them anywhere.
Sync - This button is how you install OneDrive on your local machine! We'll cover this shortly.
Automate - Needing to streamline or automate a function that you're doing regularly? Check out Microsoft Power Automate, the best tool to help get those routine tasks off your plate.
OneDrive on Your Local Machine - Configuring Your Settings
Remember that "sync" button on your 365 portal? Once you've clicked that, you'll have OneDrive installed on your local machine. OneDrive runs all the time in your bottom right taskbar on your Windows machine.
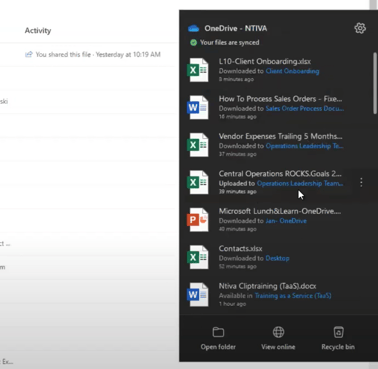
The three options on your local OneDrive are Open Folder, View Online, and Recycle Bin. These are fairly self-explanatory. The settings however, are not!
Make sure to go into Settings by clicking the gear in the top right of your OneDrive installation and ensure that "Start OneDrive automatically when I sign in" is checked.
This will guarantee that your files are always updated to the latest version!
Another setting to note is Files On-Demand. I always make sure this is turned on because it will allow you to take advantage of your full terabyte of space regardless of how much storage you have on your local machine.
Under the Account tab, you'll see a list of locations that are syncing. This is important to customize if you're creating new folders for your work outside of the standard OneDrive infrastructure.
The Backup tab helps you manage your backup system, giving you peace of mind if you happen to lose your computer or your data becomes corrupted.
If you're collaborating on projects, the Office tab can allow you to customize your file collaboration and sync conflict settings. I always recommend leaving the default settings as they are.
Utilizing OneDrive with File Explorer
Ah, this feels like the old days! Most of the people utilizing OneDrive do it through File Explorer. If you have OneDrive installed, you'll see your OneDrive location listed on the left side of any window once you open a folder.
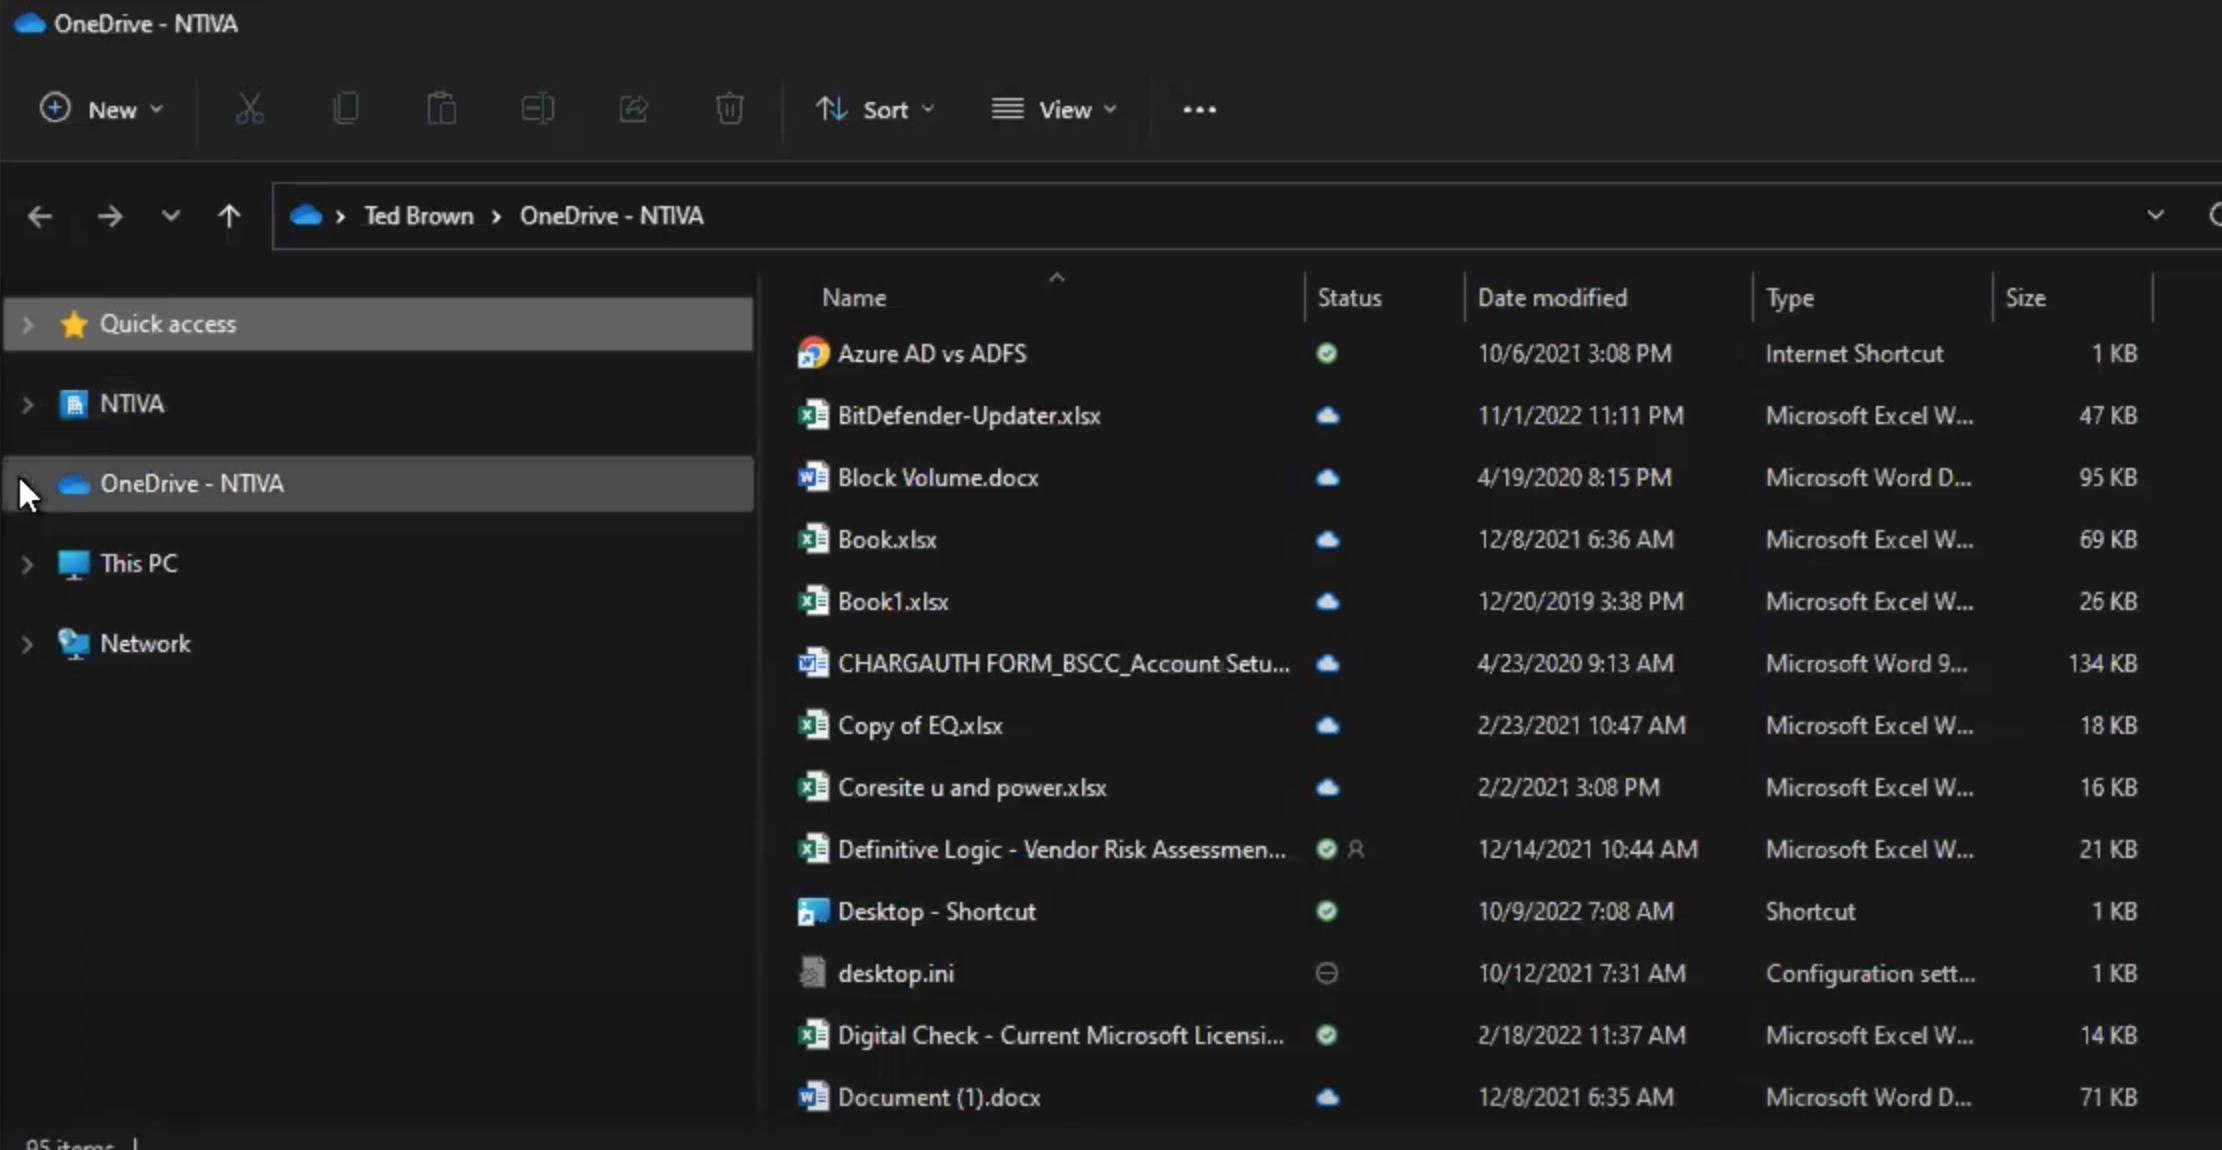
This is simply another way of accessing the same data we did in the 365 portal earlier. You have access to your entire OneDrive right from your desktop.
The files you see in this view are really just shortcuts to the folders and files you've stored in the cloud. They're not downloaded to your local machine, saving you space, but allowing you quick access whenever you need them!
Sharing Folders and Recovering Files Inside of OneDrive
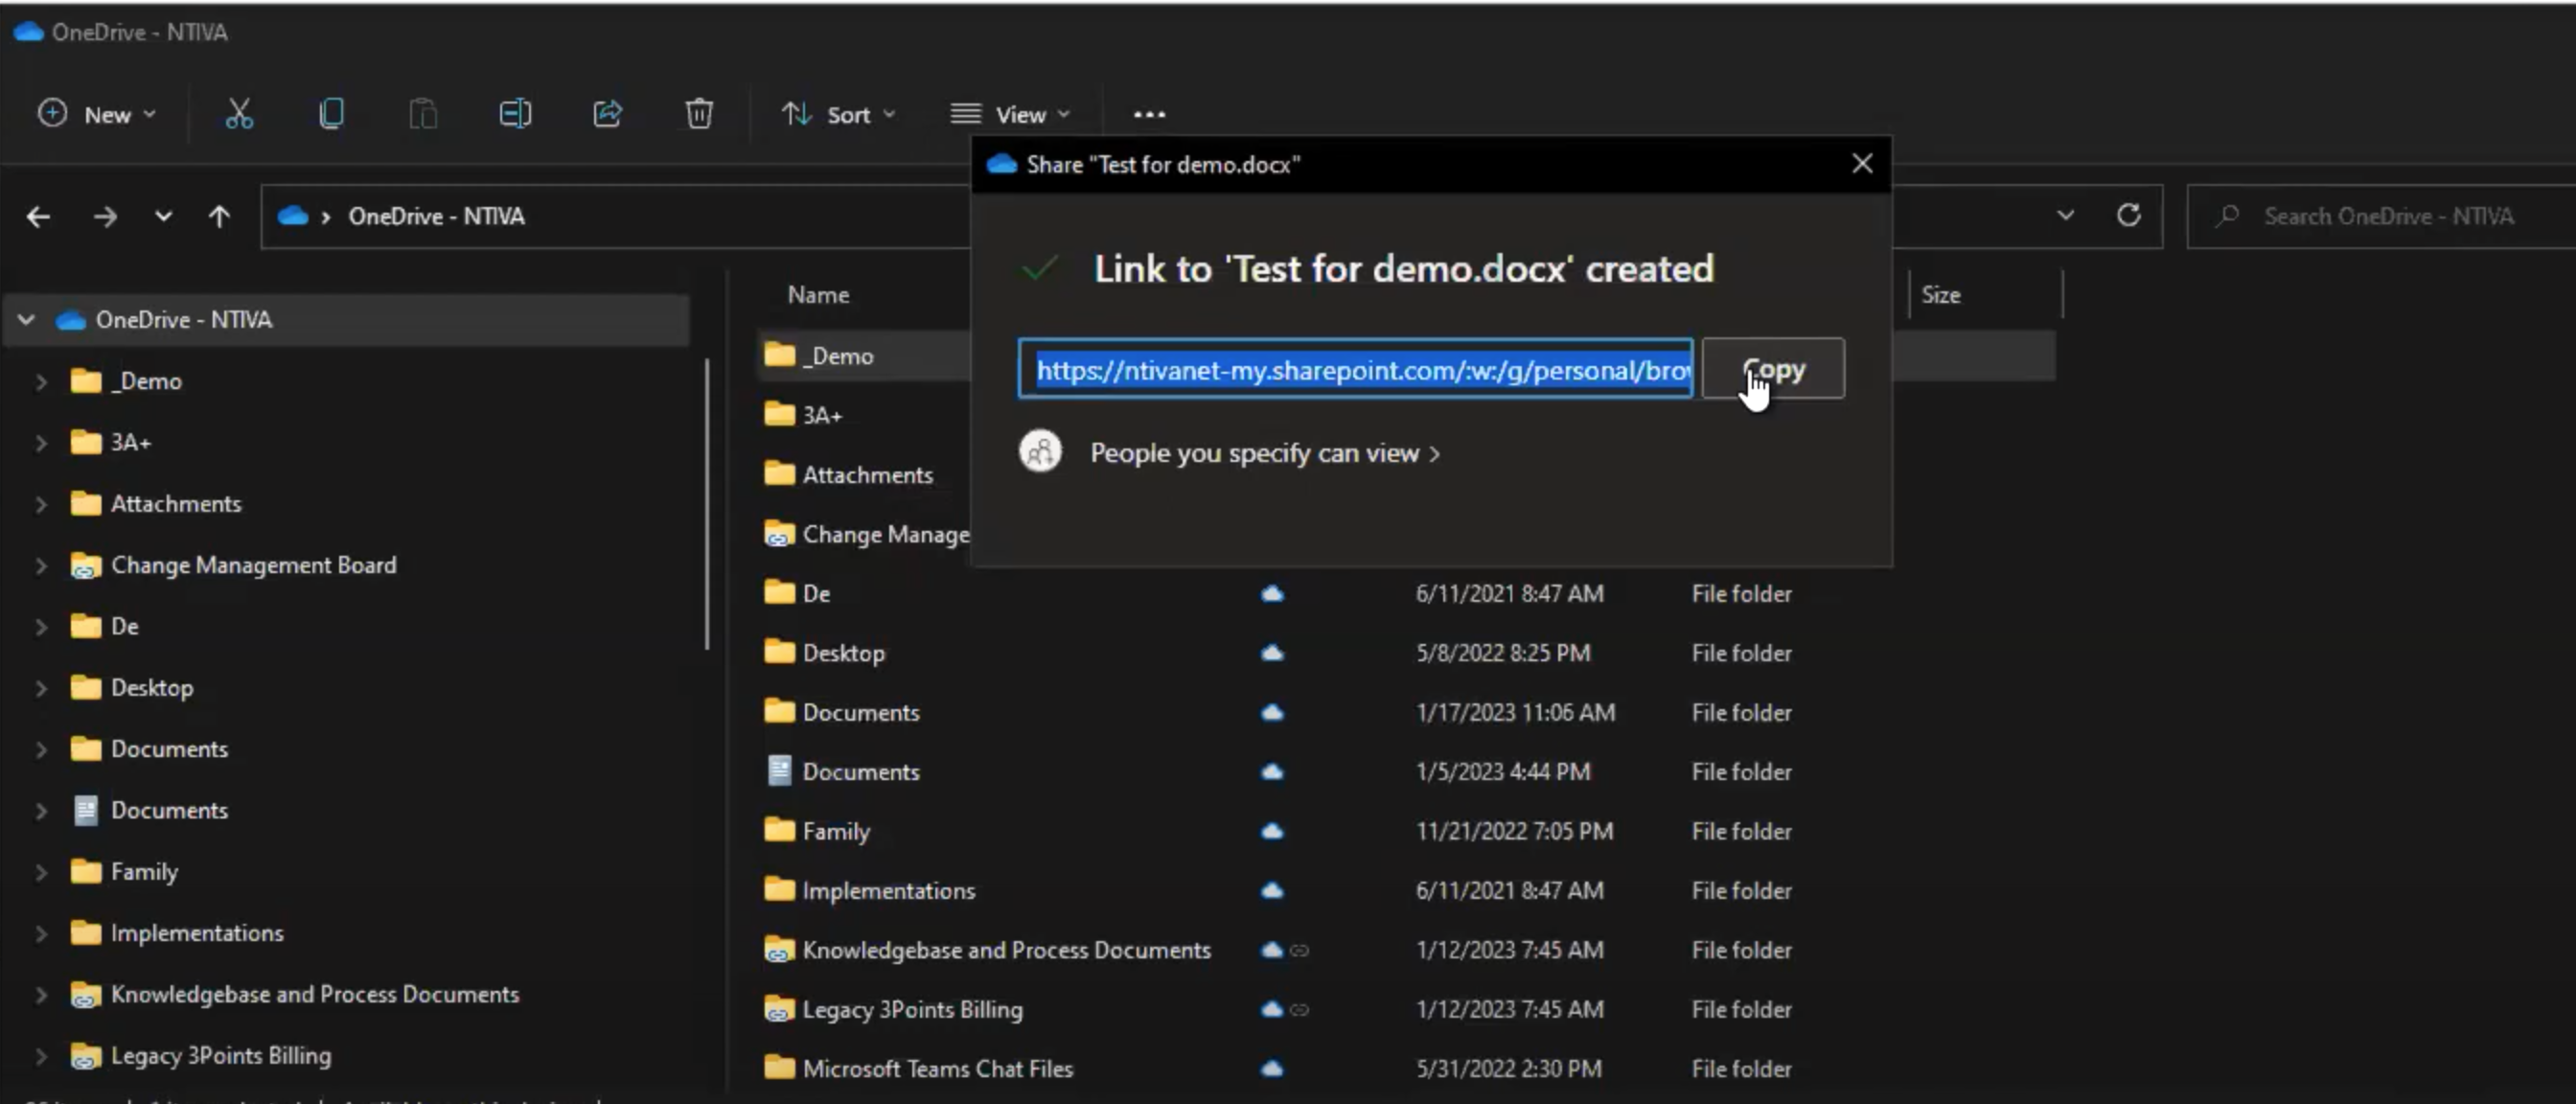
From your local machine or the portal, sharing files and folders from OneDrive is a snap. Simply right-click the file/folder and choose "Share." This will give you a link that you can send to anyone you choose. I personally use this to share blank folders so my co-workers can add their files and we can collaborate on all of them from one simple location.
You can also recover old versions of files as well. Right-click any folder or file in your OneDrive, choose More Options and then Version History. If you've made any mistakes or overwritten data on accident, this is an easy way to see the older versions of the file. This has saved so many headaches and is an amazing tool so many people miss!
Ntiva Training as a Service - Help Your Team Master Microsoft 365!
Are you trying to get your entire organization on the same page with Microsoft 365 tools? Ntiva's Training as a Service is an all-in-one platform that you can customize to your organization's needs!
This video-based platform can allow you to set requirements and awards for your employees to complete the training for the tools they need! It includes quizzes and hands-on training opportunities that help your team get the most out of your Microsoft 365 platform!
Interested in learning more? Reach out to our team and see how we can help your business thrive!
